Table of contents
- Getting started
- Register your terminal
-
Set up the payment type for your terminal
- Turn on your terminal for the first time
- Verify your new terminal in Quickorder POS
1. Getting started
If you have yet to be in contact with Quickorder, please do so to allow us to set up an Adyen account for you.
Please complete the following steps before initiating the setup process.
- Complete the Quickorder Pay KYC process
- Order Quickorder terminals using the Quickorder webshop.
- Ensure your Quickorder POS app is updated to the latest version on all iPads. Can be done from the App Store.
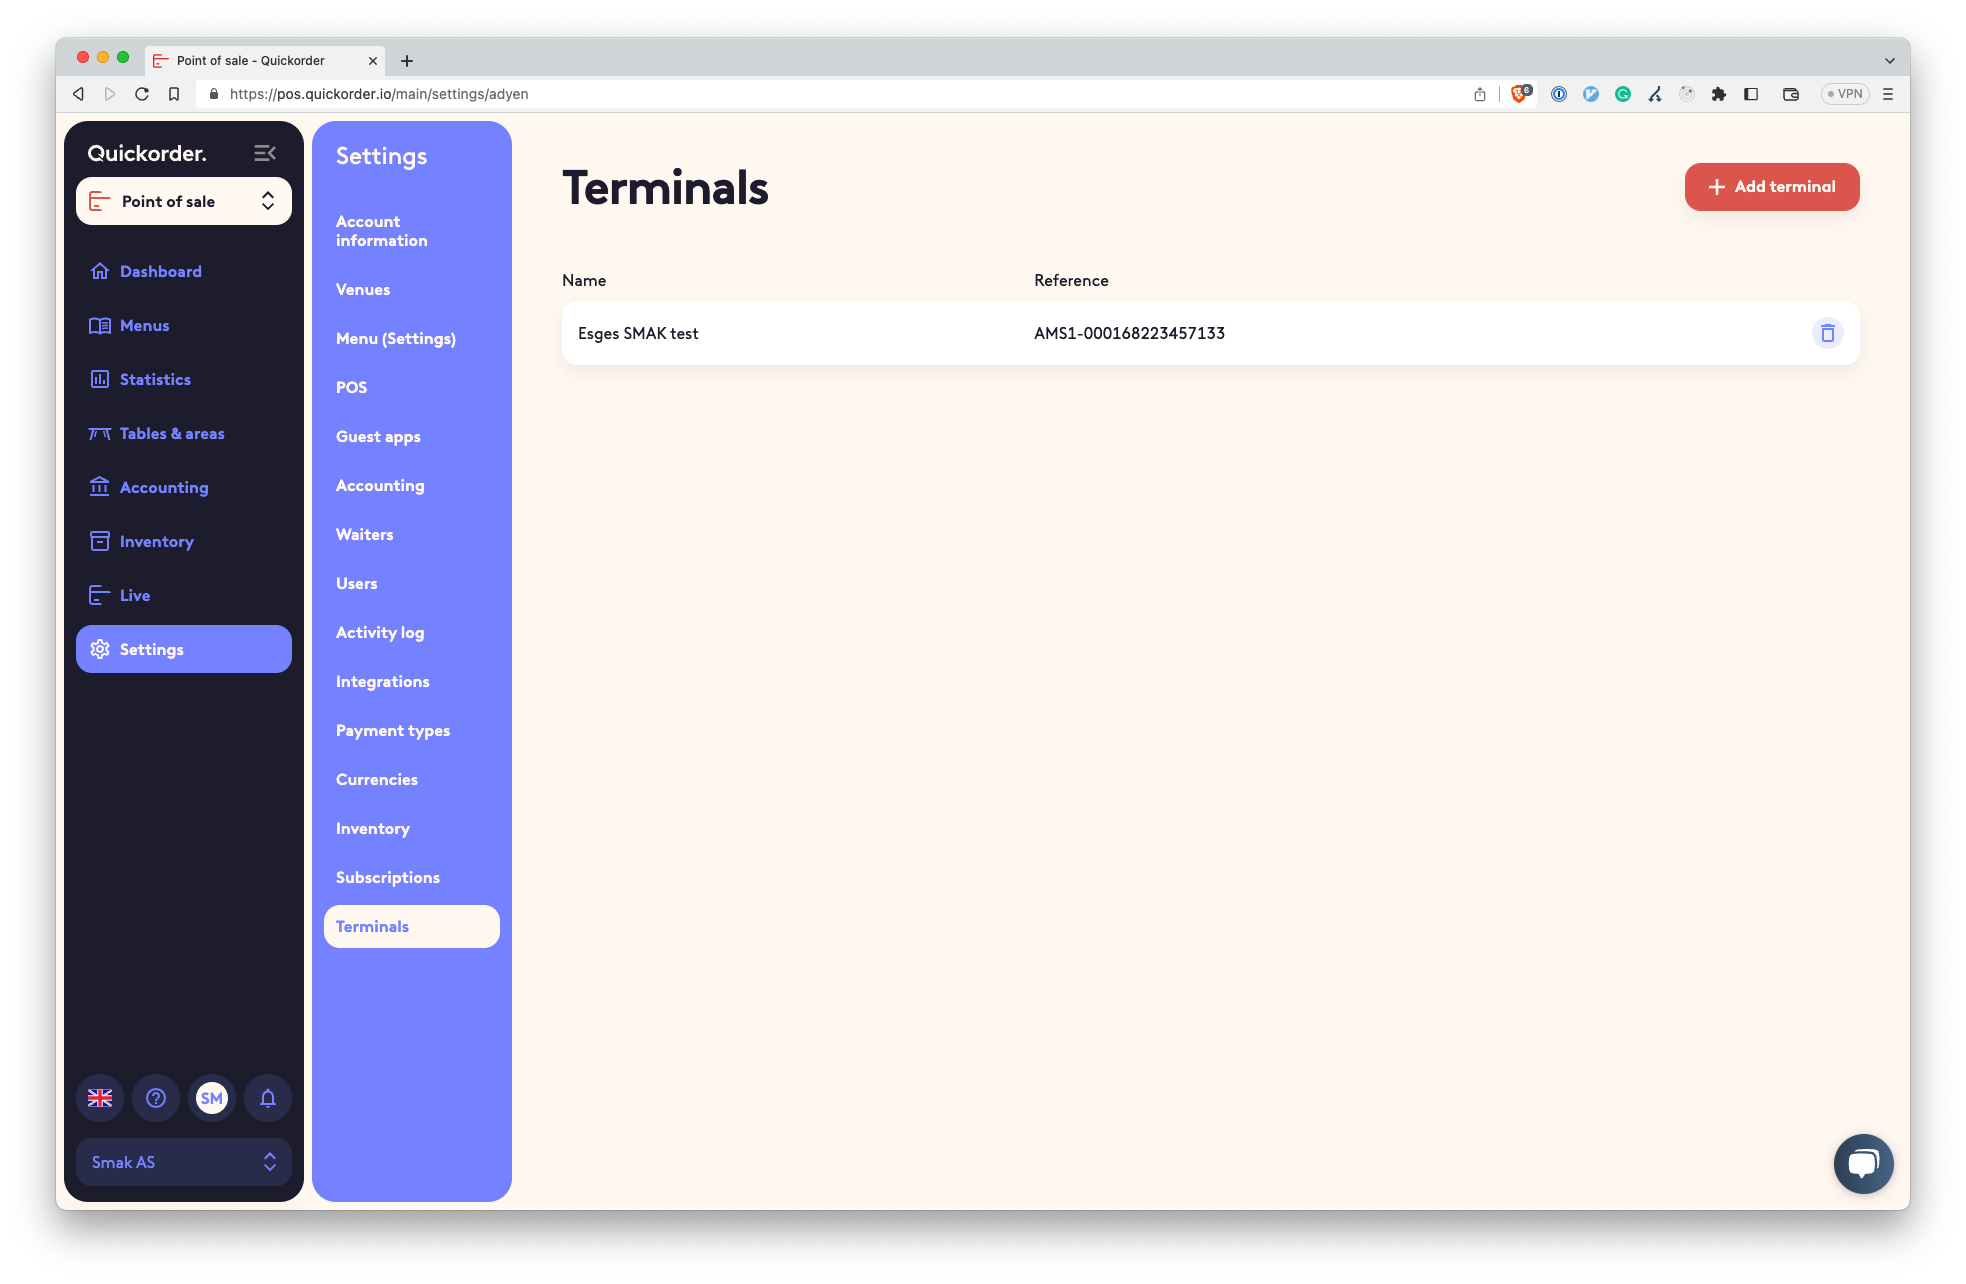
2. Register your terminal
Log in to your Quickorder back office and complete the following:
- Click Settings in the menu on the left.
- Choose Terminals in the secondary menu.
- Click Add terminal in the top right corner.
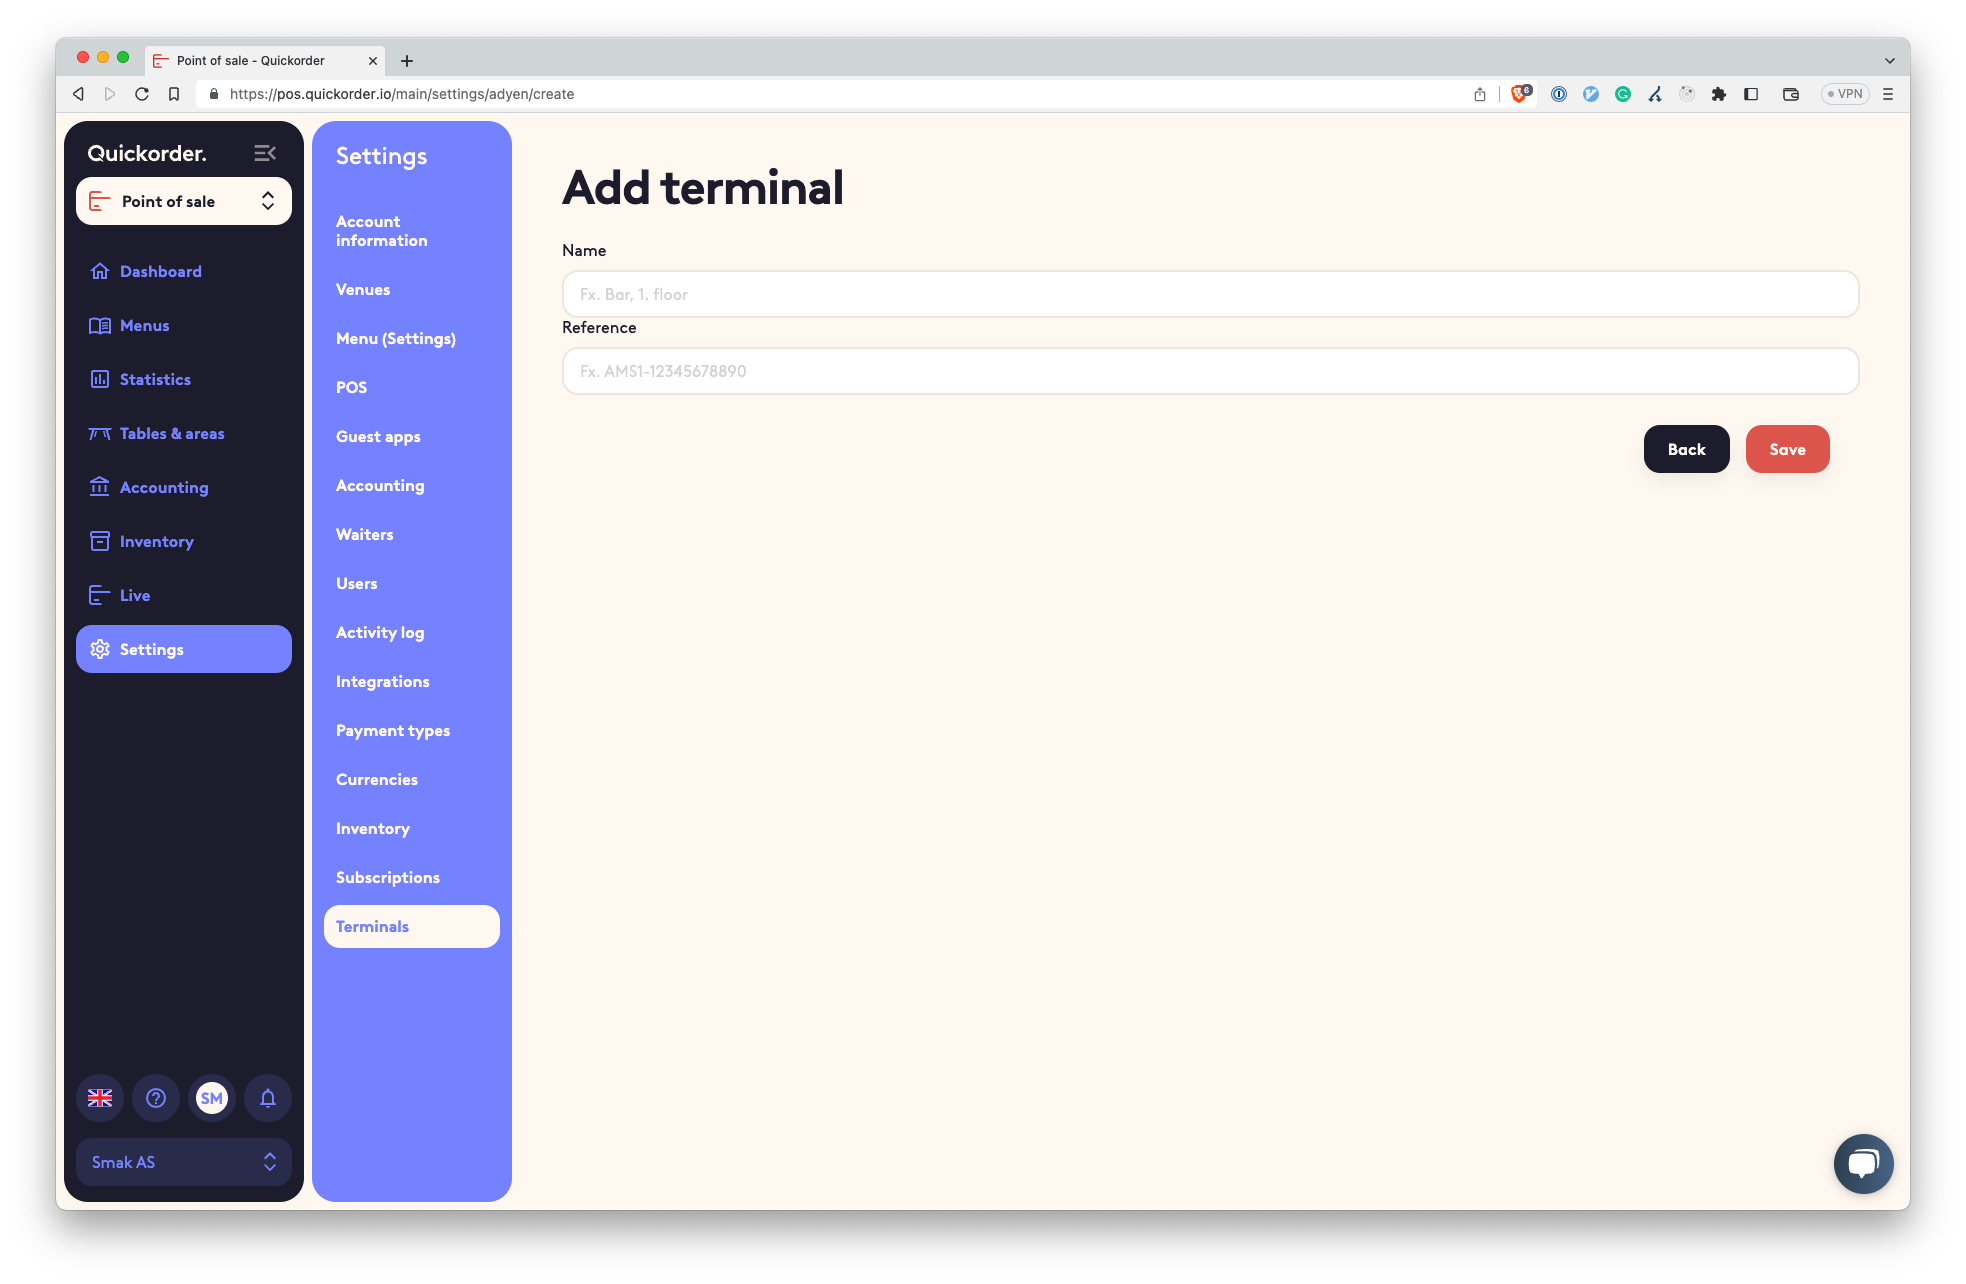
Enter a name for the terminal and the terminal reference number. The reference number is on the form
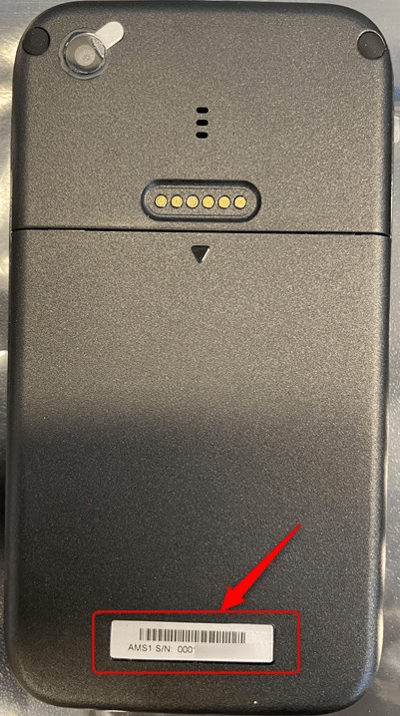
<model number>-<serial number>
The model and serial numbers are located on the back of the terminal.
Example: AMS1-023164224949826
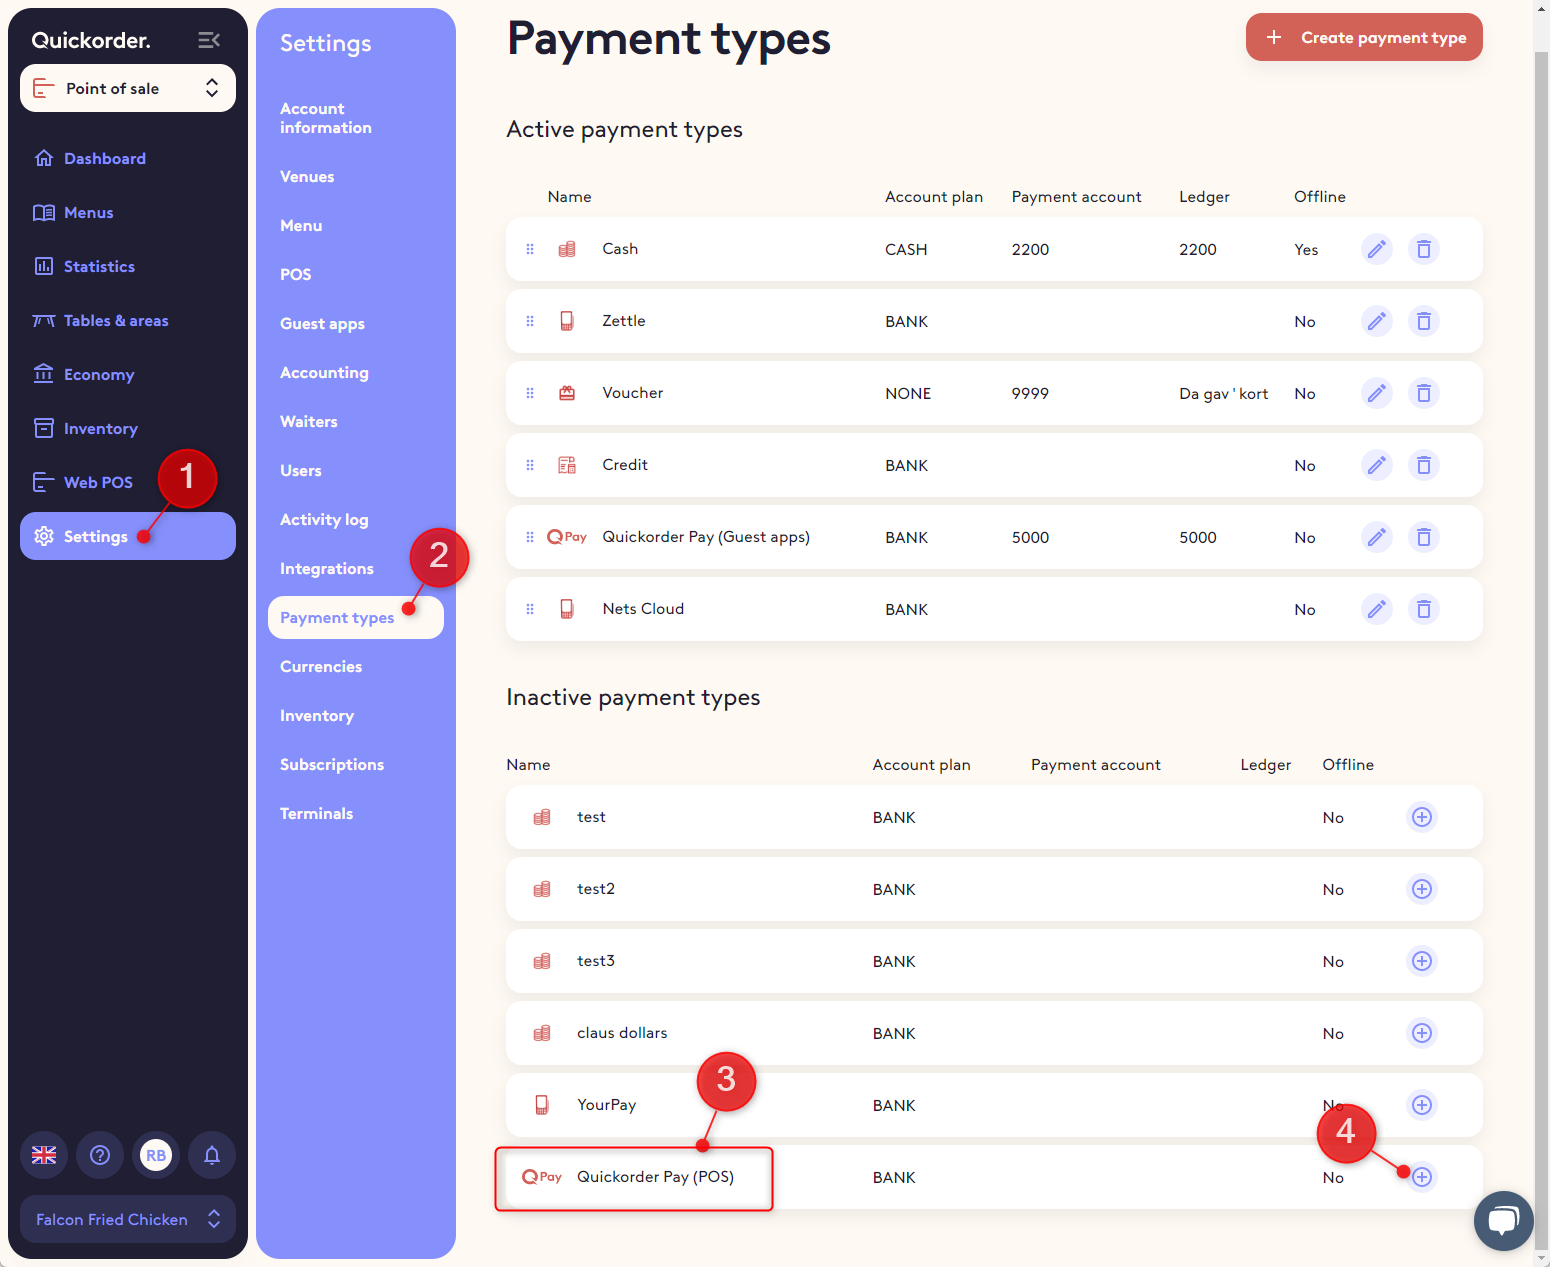
3. Set up the payment type for your terminal
- Click Settings in the menu on the left.
- Choose Payment types on the secondary menu.
- Locate Quickorder Pay (POS) under Inactive payment types
- Click the + to add Quickorder Pay (POS) as an active payment type.
- Drag Quickorder Pay (POS) to the top of your payment types.
Use the following guide to configure the Quickorder Pay (POS) payment type
- Payment Types (opens in new tab).
4. Turn on your terminal for the first time
- Turn on your terminal by holding the power button on the right side.
- Select the language (1) you want to use on the terminal.
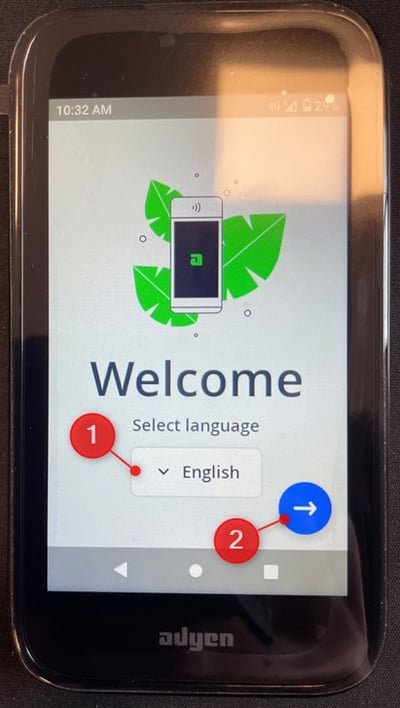
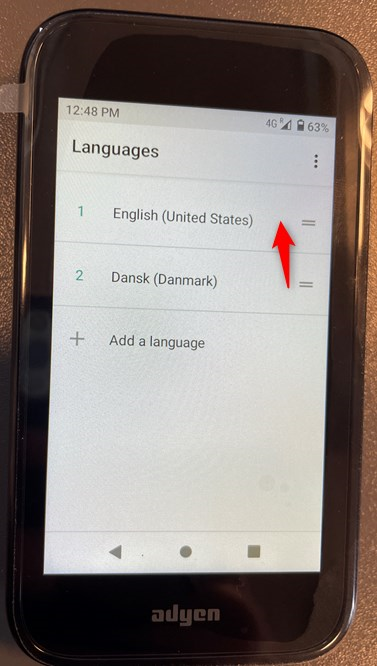
- Remember to re-order the languages to suit your needs. Your primary language should be on top.
- Click the blue arrow (2) in the previous screenshot.
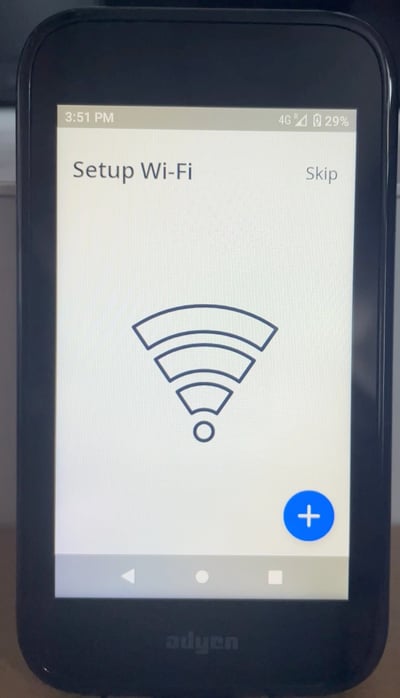
- Setup Wi-Fi -> Click Skip
- If the Skip is not visible, wait until the 4G logo appears in the top bar. Skip should appear shortly after.
- Wi-Fi is unnecessary, as the terminal has a built-in 4G and is shipped with a SIM card which guarantees network access even if you are outside of your Wi-Fi's range.
- Wi-Fi can always be enabled later if 4G connectivity to poor in your area.
- Quickorder always recommends running your terminal on 4G for optimal connectivity.
- 4G service is FREE but may be subject to change at a later date.
- The screen should now show the address you have registered with Quickorder, the text "QuickorderTerminalsDK" or "QuickorderTerminalsNO", depending on your country, and an id number consisting of letters and numbers.
- If these three pieces of information are not as described, please restart the terminal by pressing the power button for two sec. and clicking Restart.
- Once the terminal restarts, it should display the correct information.
- If the terminal still does not show the expected information, please grab hold of Quickorder support.
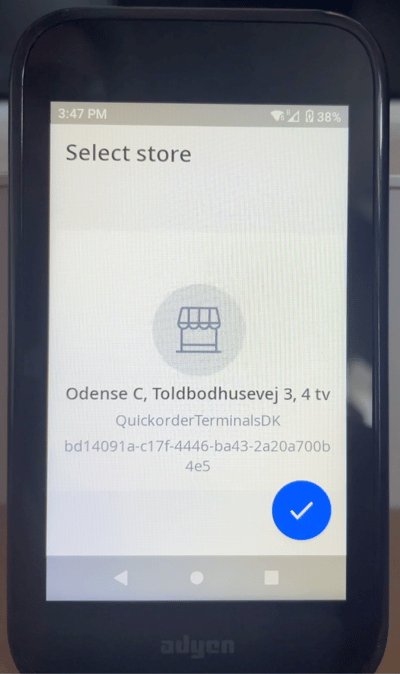
- Click the blue check mark.
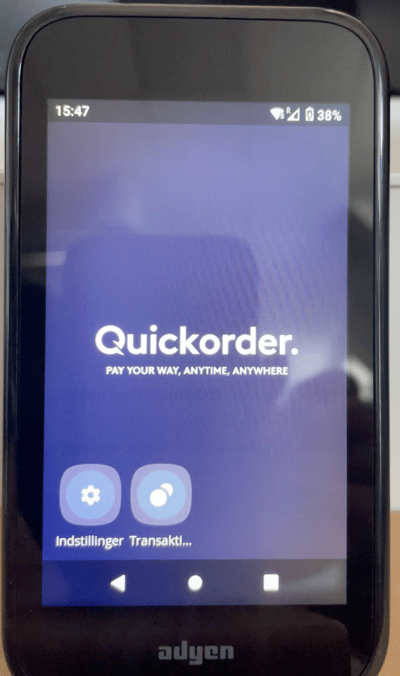
- The terminal should now display the Quickorder logo.
5. Verify your new terminal in Quickorder POS
- Log in to your Quickorder POS app on an iPad
- Select Modules and choose Synchronise at the bottom.
- Test that the terminal works as expected by making a 1 kr. order and try to complete the payment using the Quickorder Pay (POS) payment type and finalise the purchase on your Quickorder terminal.
- You are now ready to start accepting payment on your new Quickorder terminal.
Additional terminals can be purchased from the Quickorder webshop at https://shop.quickorder.io/