
This article will show you how to connect the QuickOrder POS App to your cash register (mPOP).
If the cash register has been in use before and needs to be connected to a new device, you need to reset the cash register before creating a new connection
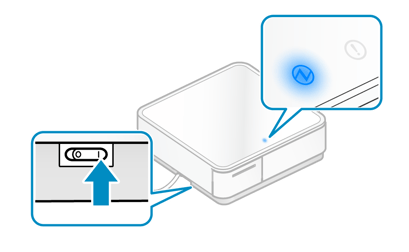
- Turn on the cash register by turning on the switch at the left side, whereafter the power symbol at the top of the register will turn blue
- Open the Quickorder POS app
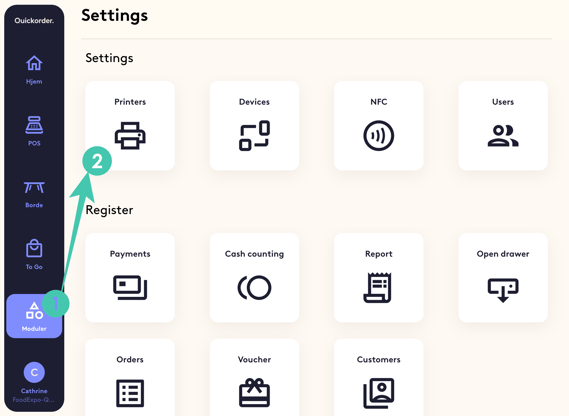
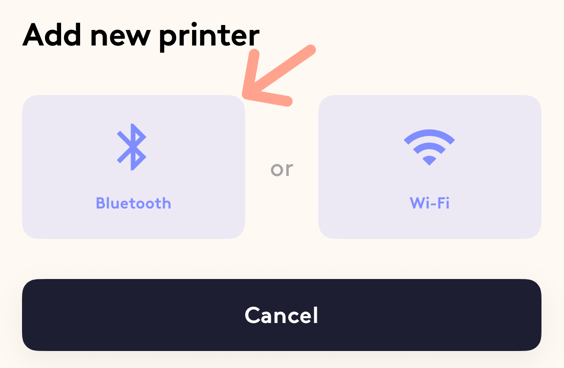
- Click on Modules > Printers > Create connection > Bluetooth
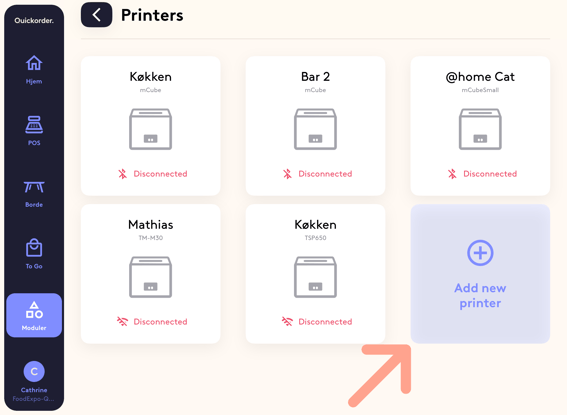
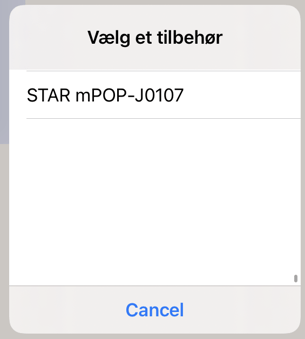
- Select your register in the overview. If you have not renamed the cash register, it will be called Star mPOP. Hereafter, you will be redirected to the Printers module, where the cash register should be visible now
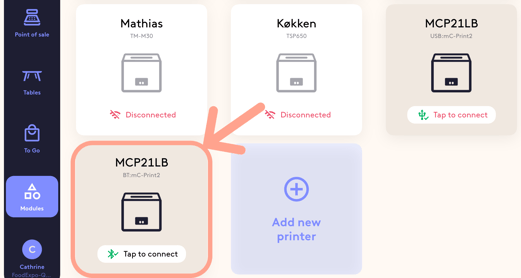
- Click on the new printer which has just been added (POP10). If more options show up, it is important to choose the one called BT (Bluetooth)
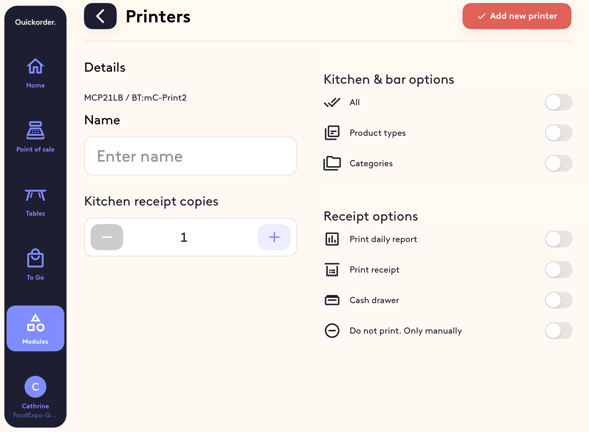
- Set up the printer with the desired settings
- Name the printer.
- Under Select topics to print on kitchen/bar printers you can choose what you want the cash register to print. Either All, certain Product types or certain Categories.
If you click on either Product types or Categories, a new image will be shown where you can check off what you want to print.
If you do not want the cash register to print a kitchen/bar ticket, then you can just omit selecting anything here. - Under Preferences you can select the following things:
- If you want it to print the daily report
- If you want it to print the receipt for the customer
- If you want it not to print the kitchen/bar ticket unless you tell it to do so manually
- How many kitchen receipts to copy (the minimum you can select here is 1, but if you have not selected anything under Select topics to print on kitchen/bar printers, it will not print a kitchen/bar ticket).
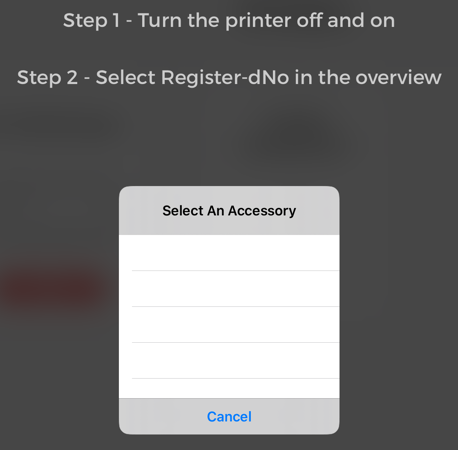
- Click Add new printer and wait until a new image is shown, where two steps are mentioned
- Step 1 - Turn the printer off, and then turn it back on
- Step 2 - Under Select An Accessory the printer you have just named should show up within a few minutes. Click on it
- A receipt that says "Congratulations" has now been printed and on the Printer overview it will say Connected
Congrats! Your cash register is now connected! 🤩
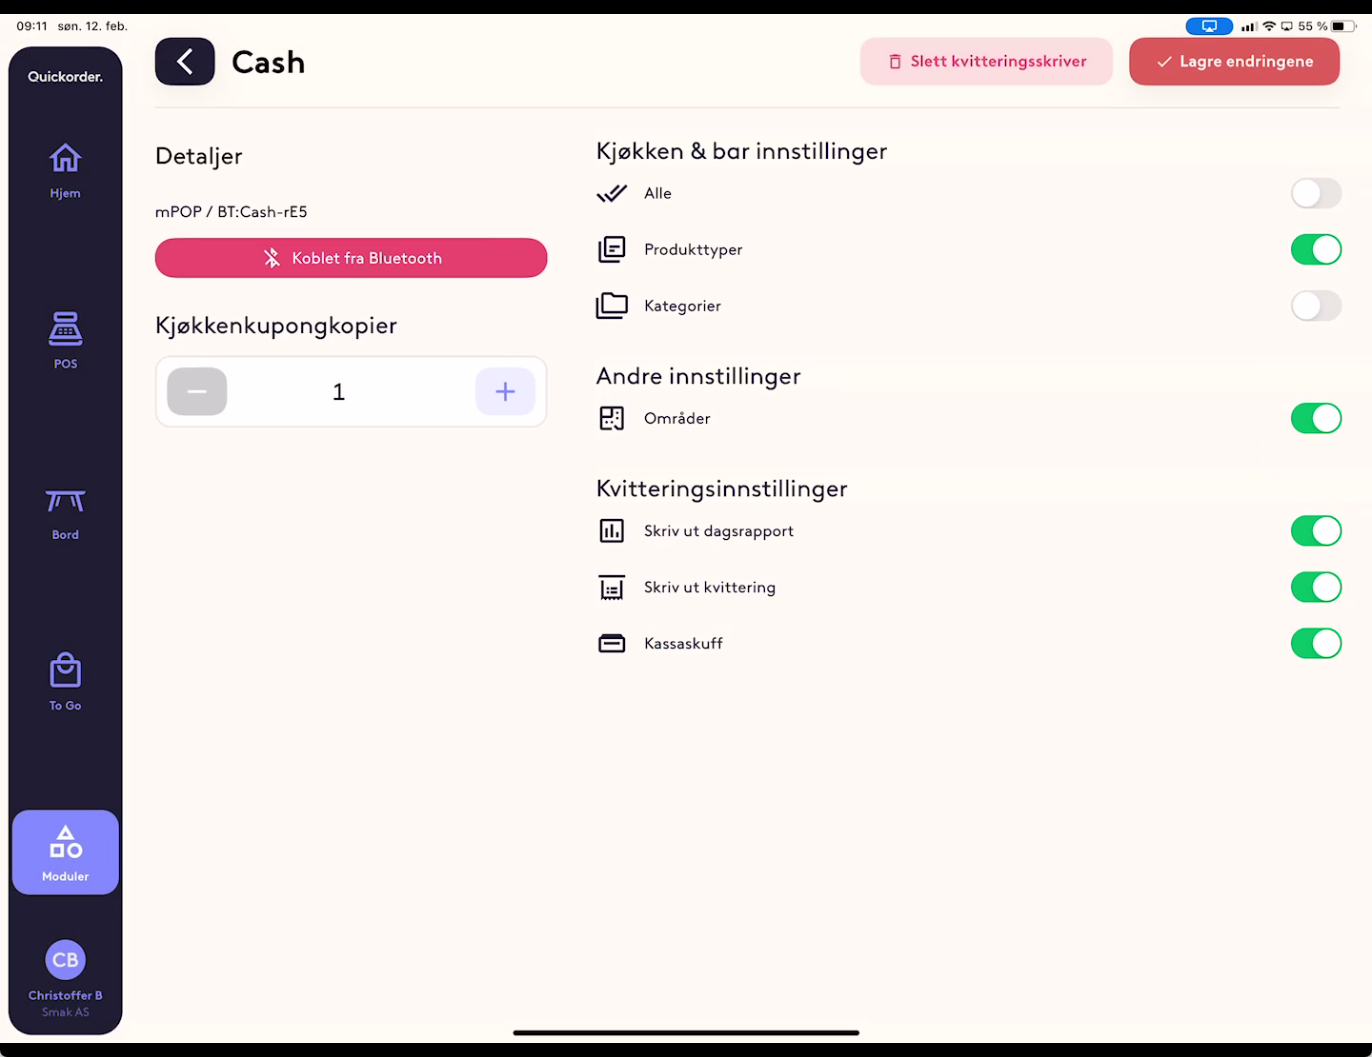
Typical settings on a mPOP:
Kitchen & Bar settings:
- Primarily use product types to control what comes out of kitchen/bar orders on this printer. If you have a kitchen printer, it is typically the drink you want out on your mPOP. Otherwise, just turn on "All".
Other settings:
- Typically, all areas must be marked.
Receipt Settings:
- Your mPOP should be set up to be able to print both daily reports and receipts. And of course that there is a cash drawer connected.
OBS: If you experience issues when trying to connect to the cash register, it can be helpful if you reset the register.